I am the author of Core Data Fundamentals with Swift, CloudKit, iOS Data Persistence: The Big Picture, and eight other courses on Pluralsight.
Deepen your understanding by watching the courses!
Using Core Data With SwiftUI - An Introduction
How does Apple intend for us to use Core Data with SwiftUI?
They gave us a path forward with the most recent beta release of iOS 13 (Beta 5 at the time of this writing)!
First Things First
-
To work effectively with Core Data in SwiftUI, the Data Flow Through SwiftUI WWDC session is a huge help.
-
With this talk under your belt, you’ll have at least been introduced to key words like
@State,@Binding,@ObservableObject(which replaces@BindableObjectas of Beta 5), and@Environment.
On the Right Path
Even prior to Beta 5, the “right path” for using Core Data with SwiftUI seemed to be through the @Environment.
In the release notes for iOS Beta 5, Apple seems to be leading us there:
NSManagedObjectnow conforms toObservableObject.
- The new
@FetchRequestproperty wrapper can drive views from the results of a fetch request
managedObjectContextis now included in the environment.
With these three pieces in place, Apple has given us out-of-the-box support for using Core Data with SwiftUI.
So…
How Do You Get Started?
I decided to create a basic, single-view app that can
- Persist a list of
BlogIdeas to a Core Data persistent store - Use the new
@FetchRequestproperty wrapper to fetchBlogIdeas - Use the
@Environment’smanagedObjectContextto create, update, and deleteBlogIdeas
Grab the project over at GitHub and explore!
The sample project that includes a single Core Data Entity named BlogIdea:
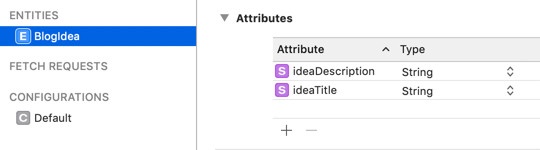
I kept as much out-of-the-box stuff as I could.
How Does It Work?
Throughout the project, you’ll notice emoji symbols to help draw your eye to the Core Data pieces.
❇️ Alerts you to Core Data pieces
ℹ️ Alerts you to general info about what my brain was thinking when I wrote the code
Code Walkthroughs
I completely relate if you need to chunk things up and inspect the details of how each piece of the puzzle looks in isolation before you dive into the full app.
I’ve written up two separate how-tos that show you more specific details:
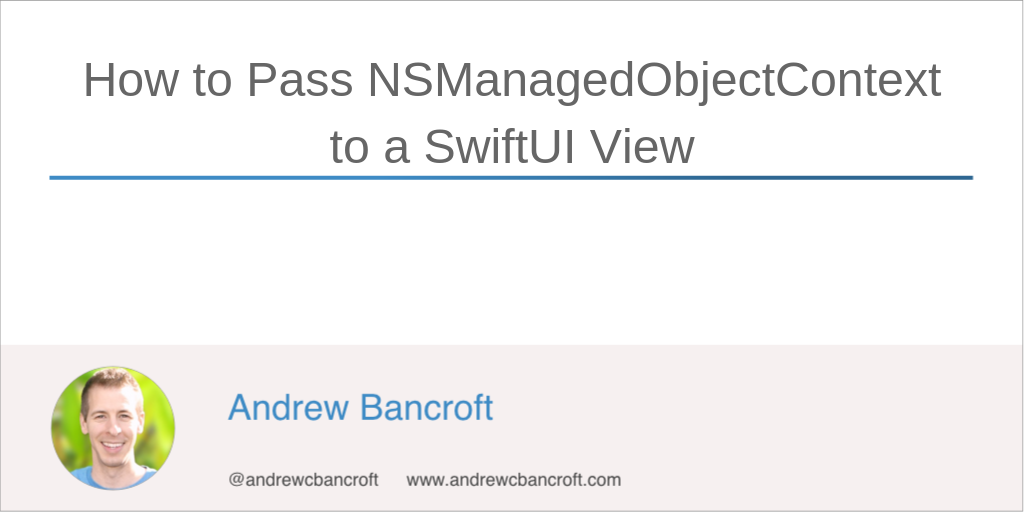
Breaks down how to pass an NSManagedObjectContext instance to your SwiftUI Views.

Breaks down how to use the @FetchRequest property wrapper in your SwiftUI Views.